This 'Getting Started' section gives an introduction to the key features of PCC. For detailed description of these features refer to other sections in this help manual.
In this introduction you will design a new pipe class in a new project. You have probably already started the program and are looking at the main window or at the project selection window. If not, then start the program and select 'Cancel' when the project needs to be selected.

All pipe classes are organized in projects. You can make as many projects as you like. We will create a new project with a new pipe class:
- In PCC main window menu choose 'File' > 'New Project'. The window PCC project data will open, like when the PCC program started.
- In the PCC project data window enter a project number, for example 'P-1600-01'
- Enter the project description, names and location
- Select the design code of your choice
- Click the 'OK' button
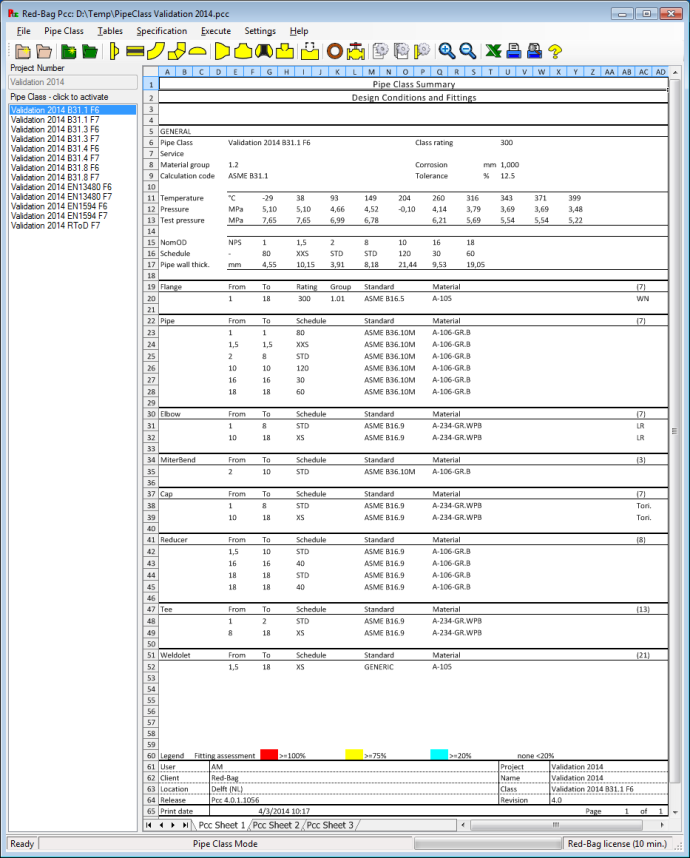
The results of the calculation check will be used to facilitate the checking of the calculations. The color marks will appear in the Summary Sheet to identify the design margins or problem area's in the pipe class.
After clicking the 'OK' button in the PCC project data window the PCC projects window has opened, showing the projects in the database. If not highlighted, select the project 'P-1600-01' and click the button 'Open'.
The main PCC window is now shown. In the menu at the top of the window select 'Pipe Class' > 'New'.
The window PCC Pipe class data has openend, enter the Pipe Class Number in the Pipe Class field with 'B-5033'.
Complete the remaining fields as appropriate.
- Select the tab 'PT rating'
- Select a flange rating
- Select a material group for example '1.01 Carbon'
- Click the button 'PT Rating Std'
- A dialog box will open to ask whether you want to replace existing PT combinations, click the 'Yes' button
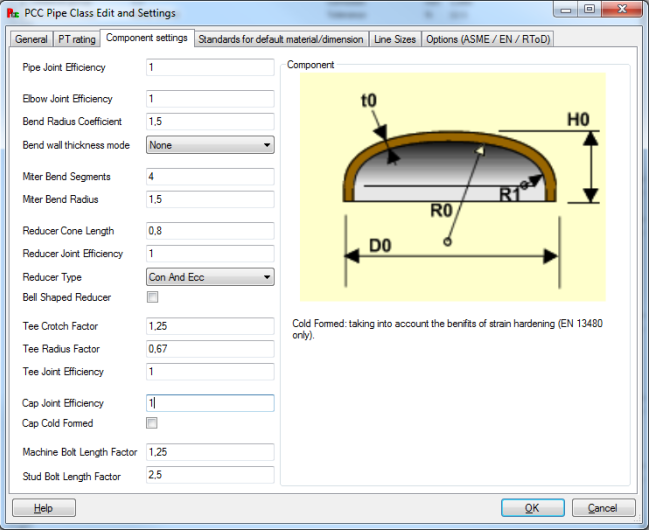
Select the tab 'Component Settings'. The default values can be used as a first start.
Select the tab 'Standards for default materials/dimensions'. Select in the fields the required standards. These selections will help the user to complete the component selection more efficiently.

Select the tab 'Line Sizes' to select the relevant line sizes for this pipe class. The selection of line sizes is required to prevent selection of components with line sizes not applicable to this pipe class.
Select the required sizes by pressing the '>>' button.
Select the tab 'Options' to update the calculation settings per calculation code.
Click the 'OK' button to save and close the window.
Note that the pipe class data is shown in the 'Summary' section. If you scroll down in the 'Summary' section you will see the project data entered previously.
At the bottom of the summary section in the main window you will see that the branch table shows the selected line sizes.
- In the menu of the main window select 'Tables' > 'Flange'
- Drag in the left table (still empty) with the mouse a serie of pipe sizes (rows) for which the material and schedule will be the same
- Enter the data in the fields at the right, you will see the table is updated accordingly
- In this window complete the above step for the remaining sizes
- Click 'OK' at the bottom of the dialog
Complete the steps above for the other components which are part of the pipe class.
In the Summary section of the main window you will see your selection for the components. At the right, the number of items selected in the pipe category are indicated for check purposes.

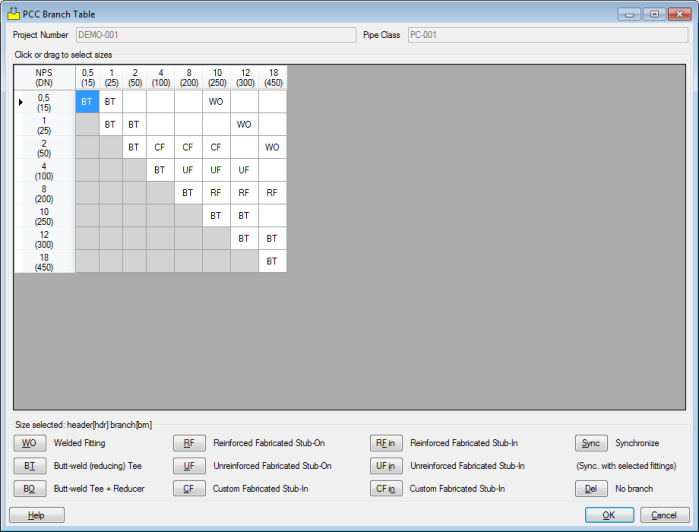
The tables (see above) for the reducer, tees and branch table look different but have the same approach. Drag the required fields in the grid and complete the fields with the data.
At the bottom of the summary section you will see that the branch types have been indicated.
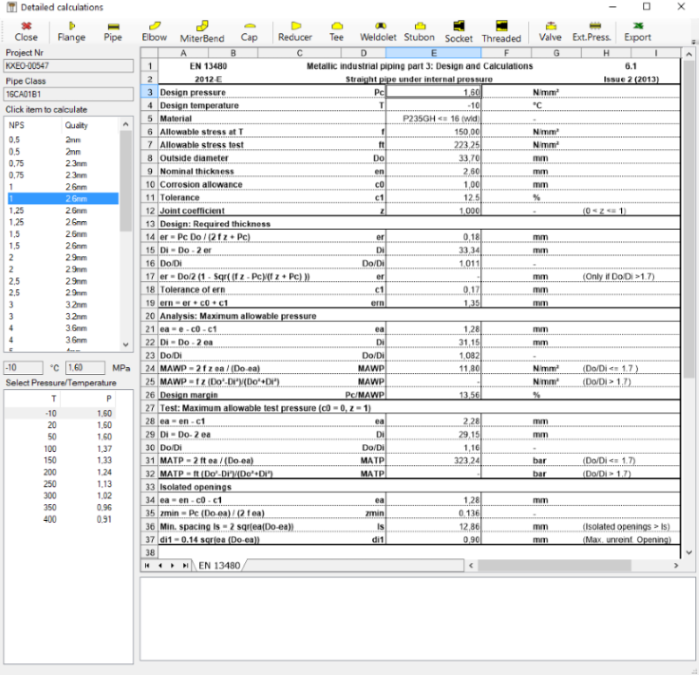
In order to view the detailed calculation:
- From the menu of the main window select 'Execute' > 'Calculate component' or press <F5>
- Click the button 'Pipe' at the top of the new 'PCC Detail Calculation Report' window
- Select a size and pressure / temperature combination of your choice to view the applicable calculation

Notice the warning section below the calculation window. Warnings and errors appear in this textbox in case the calculation results are not according the code.